 |
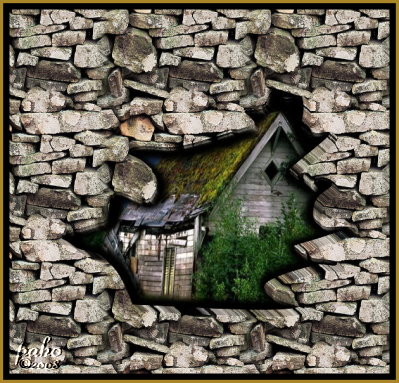
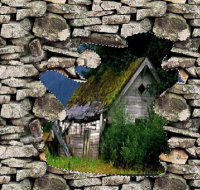
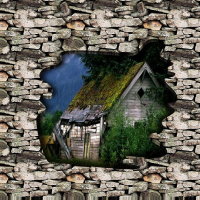
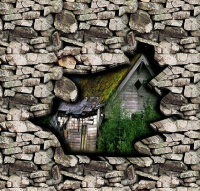
| Description: How to make an Image look like it is being viewed through a hole | Done with PhotoImpact 10 using Path DrawingTool including Selection. | |
|
Materials Needed an Image of your choice plus a texture
|
||
| 1. Open the Image you have chosen to work with. | ||
| 2. Copy and Paste it back into the canvas | ||
| 3. Edit/ Fill/ Color White |
|
4. Edit/ Fill/ Texture. Choose a Natural texture. (See Here on how to change the size of the texture) |
||
| Now... We need to be able to see where we want the hole to be so adjust the transparency until u can see what is underneath. | ||
| 5. Deselect your canvas | ||
| 6. Select the Path Drawing Tool/ FreeHand/2D Object. 7. Draw your hole around the subject in the lower layer |  |
7.
|
| 8. Once you are happy with the hole change Mode to Selection | 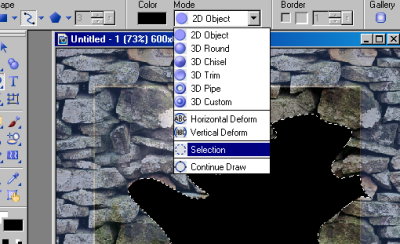 |
|
| 9. Click on Selection in the attribute bar and then click on Store Selection | 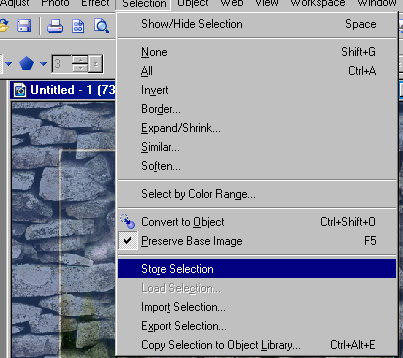 |
|
| 10. Change Mode back to 2d Object. | ||
| 11. Select the Textured Layer and change the Transparency back to 0 | ||
| 12. Select the 2D Object layer in the Layer Manager and the Texture layer and R/C | ||
| 13. Merge as Single Layer | ||
| 14. Again select Selection in the Attribute Bar and click on Load Selection | ||
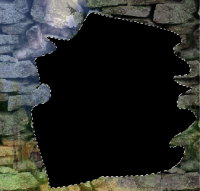
| 15. Hit Delete. |
 |
|
| 16. Hit your spacebar to rid the Selection lines. | ||
|
Now to give the hole a 3D look.
|
||
| 17. Select the Hole layer. R/ C Duplicate. | ||
| 18. Using your arrow buttons on the keyboard move this layer up 1 and across 1(either way). Repeat 17 & 18 as many times as you want to get the hole how you like it |
 |
|
| 19. Once finished open the Layer Manager and holding the Shift key select all the Hole Layers. | ||
| 20. R/C Merge as a Single Object. | ||
| 21. Next Duplicate this layer again R/C / Arrange Send To Back and repeat the above steps sending to back after each duplicate but this time going in the opposite direction from whichever way you did the first hole layers. |
 |
|
| 22. Select ALL the hole layers and R/C Merge as a Single Object. |
| 23. R/C Shadow | ||
| Use the all round shadow size 92 NO Transparency Soft Edge 20. |  |
|
| 24. R/C Merge All | ||
|
Because we have been using the arrow keys to reposition
the layers we may now have a distorted Edge to our canvas.
|
||
| 25. To clear this use the Crop Tool and crop your Image. | ||
| 26 (Optional). Add your watermark |
| 27. R/C Merge All |
|
(Tutorials)
|
||||